This watch belongs to a friend, who has had it serviced several times by the official Tag-Heuer service centre. (According to him, the watch has never been touched by anyone other than the official service centre.) It failed a couple of years after the last service and considering the cost of servicing it again, he put it in a drawer where it has been ever since.
Before the service, the watch does run, but doesn't manual wind and will only wind automatically. The chronograph module doesn't work, the start stop function doesn't engage and the reset lever doesn't reset the hands, which are all over the place. So I was more than intrigued as to how the movement would present.
Here is the result. Sorry about the quality of this quick shot of it on my wrist. I was rushing to get the watch back to the owner, and so didn't manage to put into my photo jig to get a better shot.
Click the link below to see many more pictures of it on the bench.
 |
| Heuer Carrera Automatic Chronograph with the lengendary Heuer Calibre 12, difficult but well worth the effort |
Not a good sign when the hands are all pointiing to the wrong direction and reset lever doesn't work. Very curious of what I may find inside.
 |
| Overall the watch condition is not too bad, some battle scars and it is a wearer's watch and not sitting in the drawer |
The movement is actually quite clean and everything seems intact and in the right place.
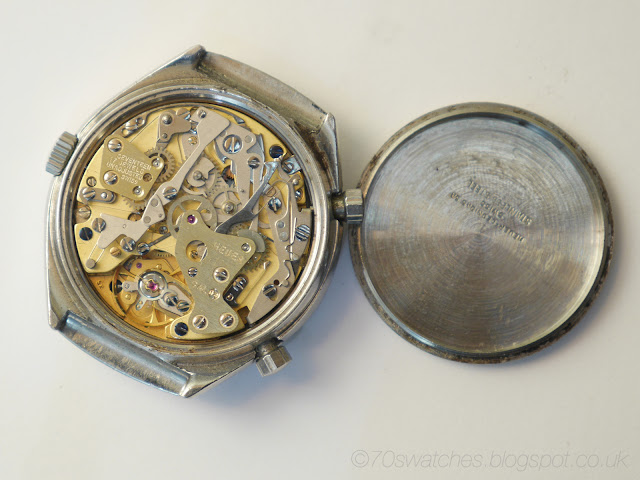 |
| First glance of the movement |
To my horror, after taking the movement out of the case and taken the hands off and after losening the dial screws, the dial refused to come out and after a bit of careful examination, I discovered that the dial is being stuck on via some double sided sticky pad! This is unacceptable for anyone to do this in order to get the dial fixed with a broken foot. There are other ways to repair this than using sticky tape.
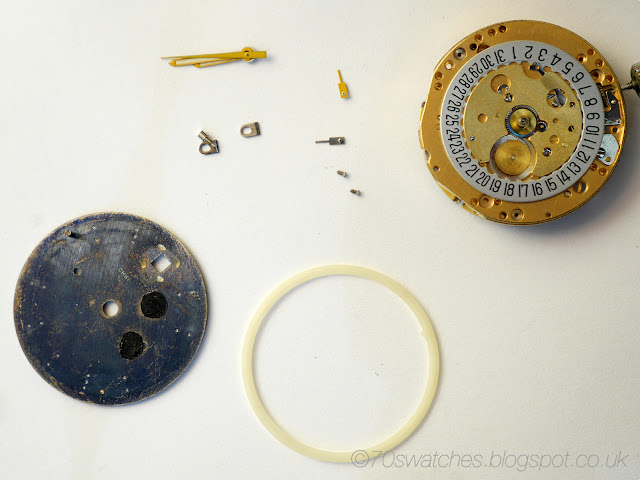 |
| 2 black spots can be seen on the back of the dial, that are the sticky pads used at the last service. |
The front of the dial with the Geneva stripe pattern is still in good condition. Only minor spotting, all the print is still visible and no scratches can be seen.
 |
| Slight spotting on the dial and fading, colours are still quite good though |
The reverse of the dial is a different story, the sticky pads have been there for some time.
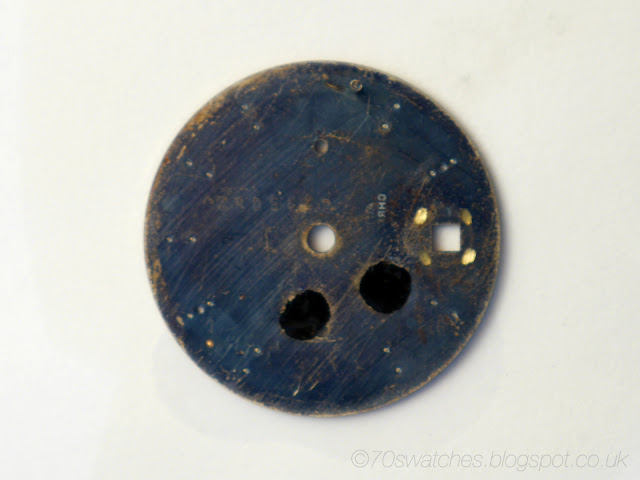 |
| A small bright spot can be seen here as where the other foot should be (at about 40min in this orientation) |
After cleaning off the sticky pads, dirt and tarnish, an appropriate dial foot is sourced and ready to be put onto the dial
 |
| There is a little dimple on the base of the new dial foot to help locate itself accurately on the dial |
Dial foot is put on the dial by crystal cement.
 |
| The base flange is only 0.02 thick so will not affect the height and the fitment of the dial |
Now the attention is turned to the movement and at this point, it is understood that the chronograph module is mis-aligned and can be adjusted to run properly, but first is to disassemble the entire movement and see what other problem is there.
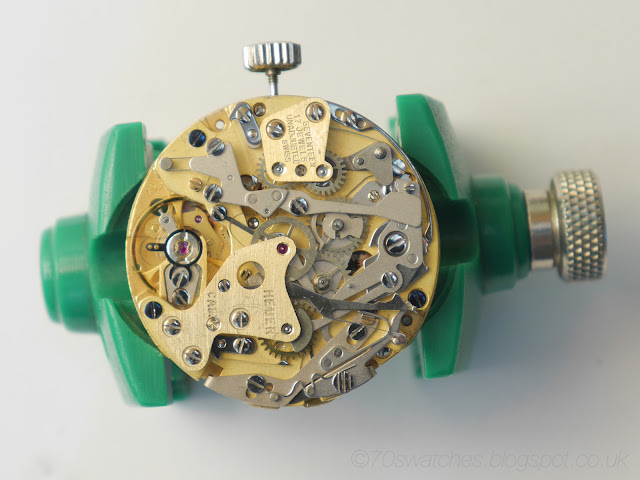 |
| The Heuer Calibre 12 automatic movement is in relatively good condition |
All components in the chronograph module seem OK at this point
 |
| Chronograph bridge remove |
 |
| Chronograph wheel, stop lever and the coupling clutch removed |
Slowly removing the components and inspecting for wear and tear
 |
| Jumper and the sliding plate removed |
The reset hammer is quite tricky to remove as its tensioned by a thick spring to give it the push to reset the minute register and the hour register
 |
| Return hammer and the hour bridge, hour recording and connecting wheel removed |
The chronograph module can be removed completely by 3 blue screws and only get the running power from a oscillating pinion driven by the drive wheel on the gear train
 |
| Sliding gear, flyback lever and start/stop lever and jumper springs removed, just left with mounting pillars and eccentric adjusting screws on the chronograph plate |
The complete running base automatic movement
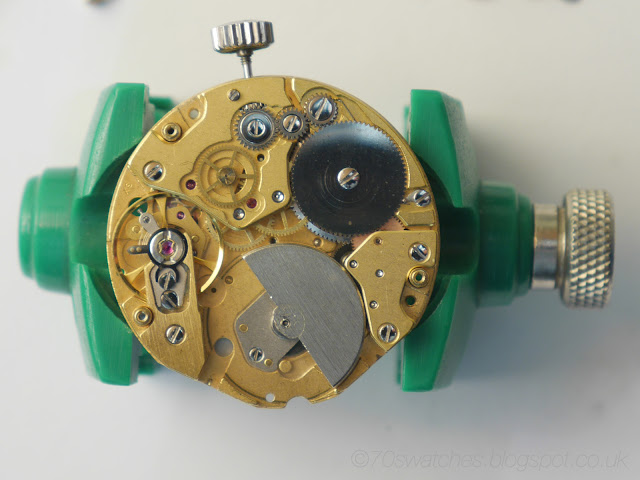 |
| Chronograph plate removed and here is basically a complete Buren 1281 microtor automatic movement |
The problem is that the automatic intermediate wheel has a broken pivot therefore it cannot be wound manually.
 |
| Automatic intermediate wheelwithout the top pivot |
Also the bushing has been worn into an oval shape instead of a round hole
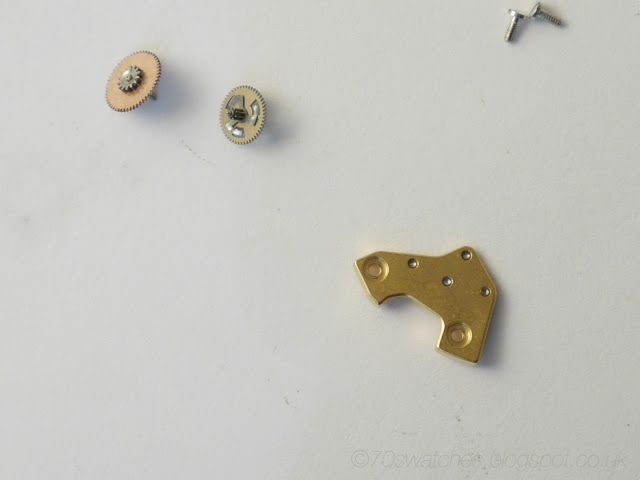 |
| Intermediate wheel and the automatic clutch wheel and the automatic bridge |
Effort has been made to locate a replacement of the wheel but this part is nowhere to be found and given the timeframe I will have to re-pivot this wheel. Here I have made 2 lathe dogs to get the pivot drill into the right width 0.16mm, the other lathe dog is for the wheel itself
 |
| 2 lathe dogs are made to get the pivot drilled |
Instead of changing the steel bushing, I think it is better to replace with a suitable jewel to make it more hardwearing at this point. The steel bushing can be seen as worn into a kidney shape instead of a round hole.
 |
| Replacing the steel bushing with a flat jewel |
It is decided not to draw temper and soften the wheel because of the small size of the wheel, therefore the wheel is drilled as is and it is very time consuming and with considerable difficulty
 |
| Pivoter in action |
As the steel arbor is drilled without softening, I need to make the drill bits as hard as possible so they are very brittle and after 3 stock pivot drill bits and still not getting deep enough. I have to made 2 more pivot drill bits using 1.6mm pivot steel rod, below is a shot to show the size of the wheel and the pivot drill bits
 |
| Two more drill bits are made to get the hole to the right depth |
After a lot of bow work and many hours later, a hole deep enough is drilled.
 |
| The new pivot hole can be seen here and it is approx 0.6mm deep |
After the hole a pivot of 0.18mm is then turned and knocked into place with the staking tool
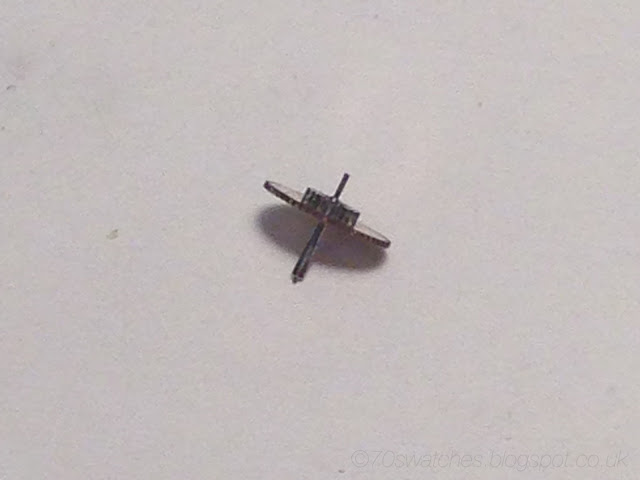 |
| The new pivot into the intermediate wheel |
The pivot then is polished with the Jacot tool and fitting into the wheel train to check with the final pivot length and size.
 |
| The new pivot can be seen in this shot which is already been cut down but not yet the final size |
After all the fitting, the pivot and the wheel is repaired, so the stripping process continues, this is with the balance and escapement removed
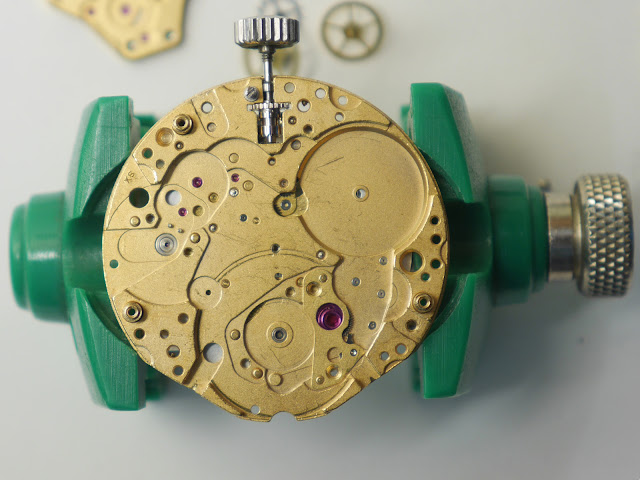 |
| Almost to the end of the stripping process |
Removing the remaining calendar mechanism and the date ring
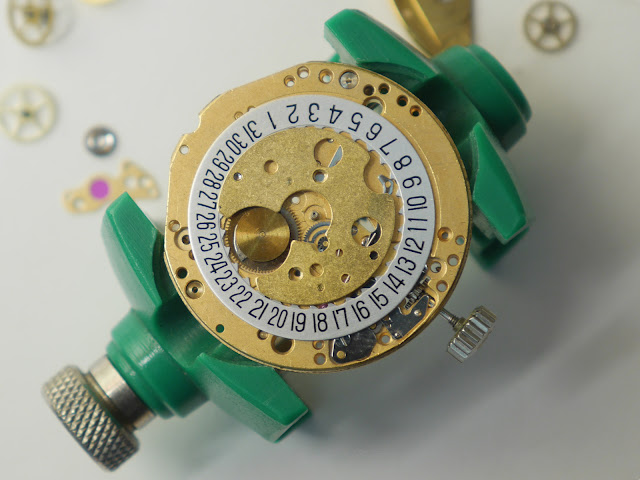 |
| Pretty standard calander mechanism, date ring, the jumper wheel, the jumper spring etc |
Then after all the components are cleaned, the reassembling process starts. Here is the wheel train and the automatic module being put together. note the red new jewel fitted to the bridge. It is decided not to replace all the steel bushing as the only load bearing component is the intermediate wheel so only the bushings of that wheel are replaced
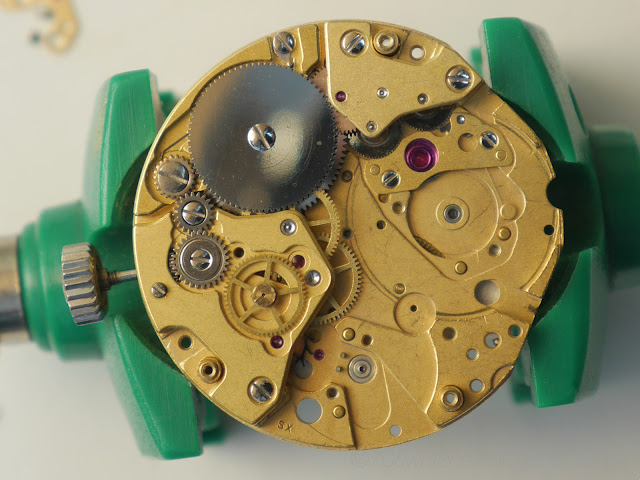 |
| Note the new jewel on the automatic bridge |
The assembling and oiling progresses to this point to check the running of the watch and see how the automatic winding mechanism and the manual winding mechanism perform.
 |
| The watch running as soon as the escapement and balance are in |
The final job is to re-lume the hands as the lume is very brittle and disintergrating inside the case and creating a lot of grit that can scratch the dial.
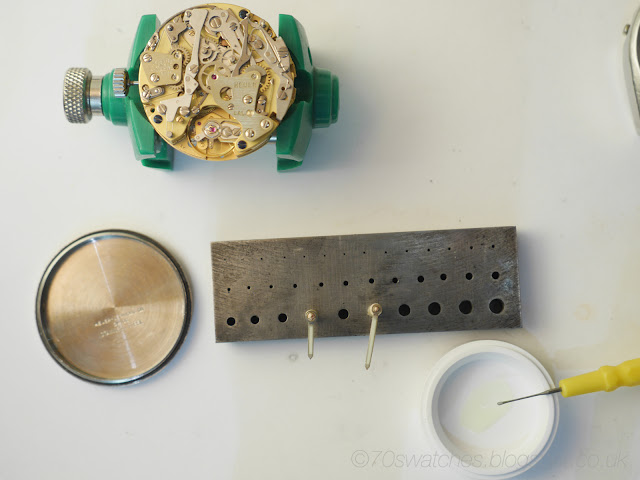 |
| Re-luming the hands |
The re-assemble process is the reverse of the above.
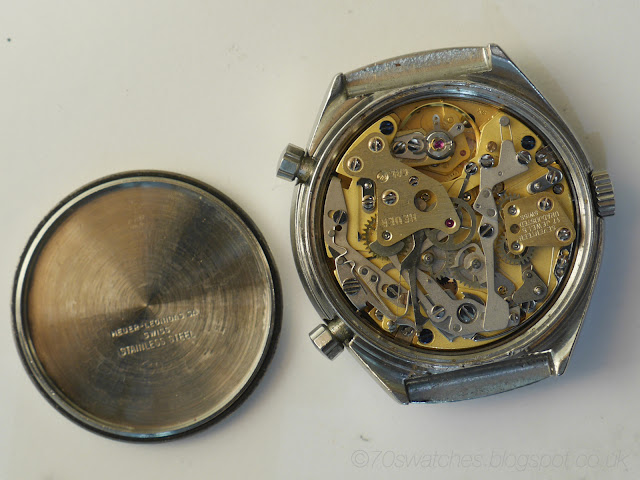 |
| New case gasket is fitted and all the surface rust is cleaned and all the cams of the chronograph are adjusted to make the chronograph function properly |
Yan of 70sWatches has made an amazing service of my Heuer. I have owned it over 25 years, during which time it has had maybe four official TAG services. It has never run better than it does now. As each issue arose during his work, he informed me as to his options, and the implications on cost and time. It even came back to me with a report and graphs of its performance. I simply could not have asked for more. Yan is a true watch geek, and technically proficient, which really inspires confidence. I would not hesitate to recommend Yan, and will use his services again myself. Just do not expect a short reply if you ask him a juicy question!
ReplyDeleteThank you David for your kind words
DeleteYan clearly is a talented guy. I love this post.
ReplyDeleteThe final comment 'The re-assemble process is the reverse of the above' is straight out of a Haynes Manual!
:-D
ReplyDelete